Zingtree supports SAML 2.0 based Single Sign-on (SSO). This lets you require anyone accessing a workflow to log in via your Identity Provider and authenticate themselves first. This article will walk you through how to set it up using OKTA.
Setup
1. In Zingtree select Team > SSO > (Agent/Author).
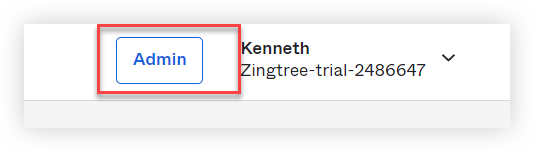
3. In OKTA, open the Admin settings.
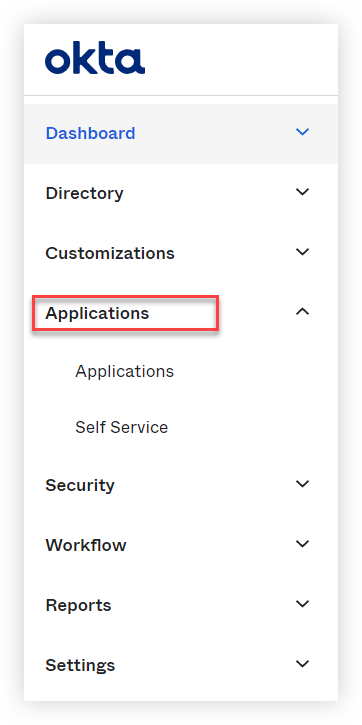
4. Select the Applications drop-down and then click Applications.
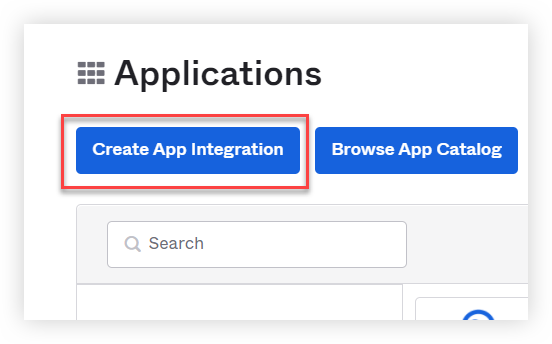
5. From the Applications page, click Create App Integration.
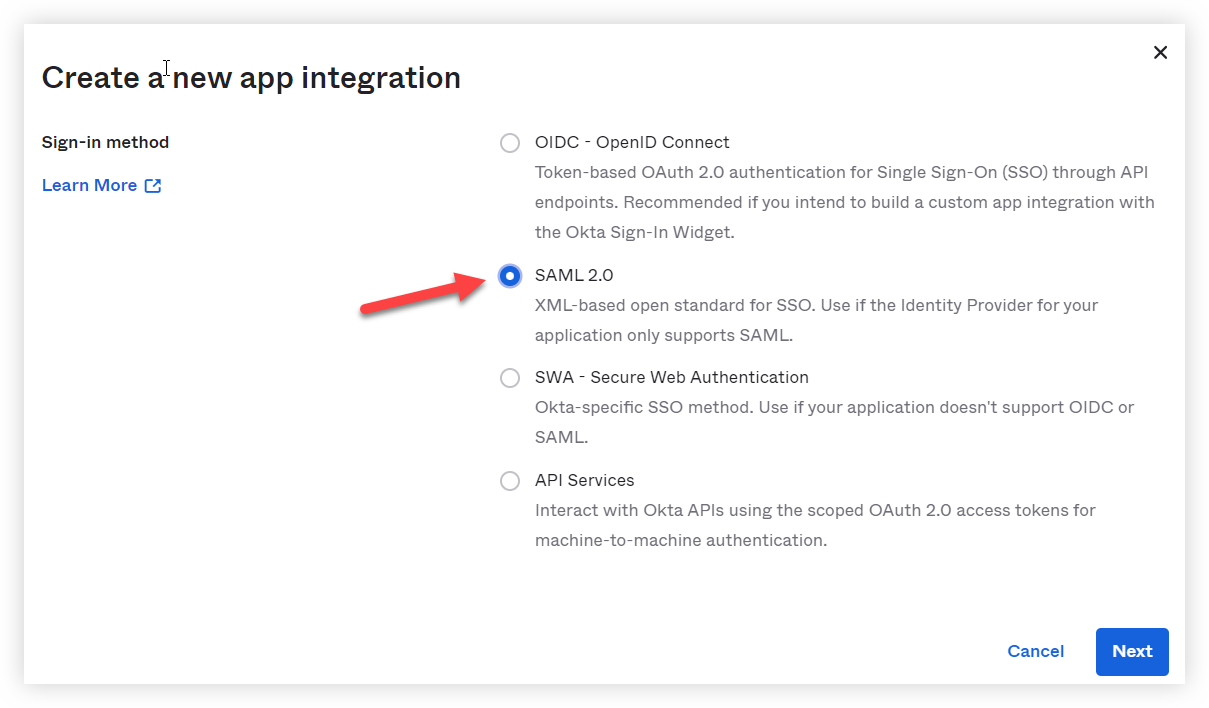
6. Select SAML 2.0.
7. Enter Zingtree Authors or Zingtree Agents in the App Name field.
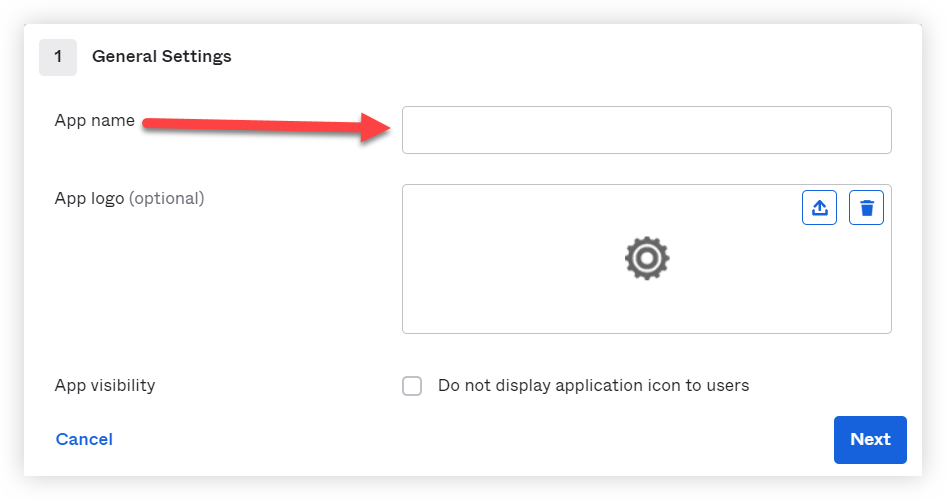
8. Enter the Single Sign-on URL and Entity ID. We recommend using email for both the Name ID Format and Application username. The completed page should look like this:

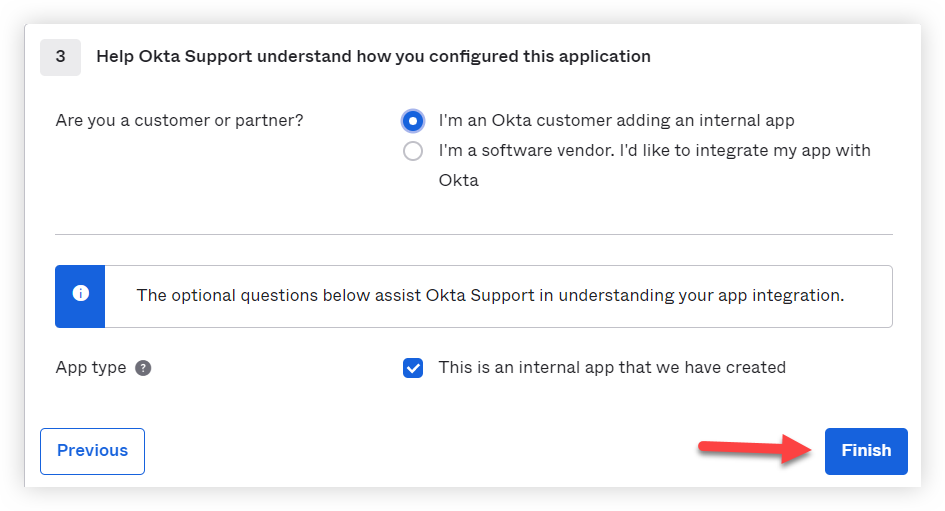
9. Select I'm an OKTA customer adding an internal app and then click Finish.
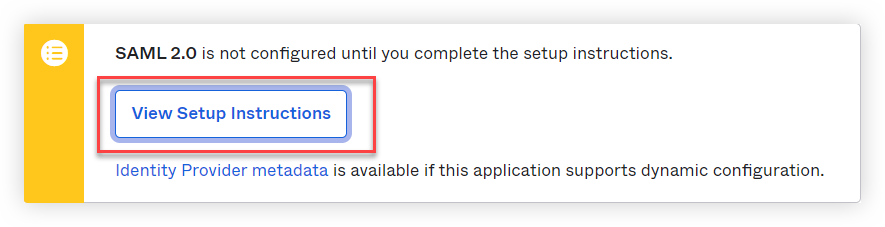
10. Click View Setup Instructions.
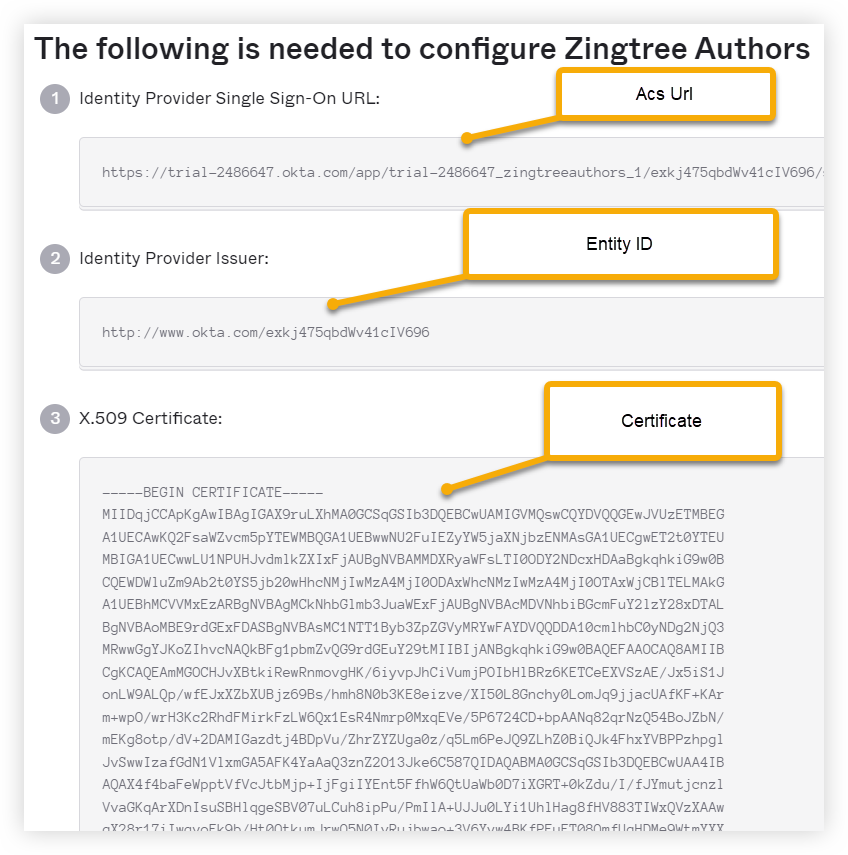
11. You'll need the ACS URL, Entity ID, and Certificate to finish setup in Zingtree.
12. Click the button at the bottom-left to view Zingtree SSO URL's:
Enabling SSO for Agents/Authors
Once SSO is working properly from your test, you can restrict access to any workflow as follows.
- From Team > SSO > (Agent/Author)
-
Tick enable Agents/Authors.
IMPORTANT: You still need to specify individual workflows to restrict access to. Here’s how:
- Go to My workflows, and select the workflow that you want to require SSO login.
-
Click Settings > Security, and you’ll see something like this:
- Check Require Login via Single Sign-on (SSO).
- Click Apply Settings.